Table of Contents
We’ve just completed the final touches on our van’s outdoor kitchen. This marks the official completion of our Ford Transit camper van conversion – a monumental project that has left us both immensely proud of what we’ve accomplished.
Starting with minimal experience and a deep fascination with “van tour” videos, we’ve gathered a wealth of tips and tricks over the past three years. This post is meticulously organized into chapters, making it easy for you to navigate and find the information most relevant to your needs.
We hope this guide serves as an invaluable resource, especially tailored to benefit Aussies and Kiwis seeking to embark on their own van conversion journey.
Our Vehicle
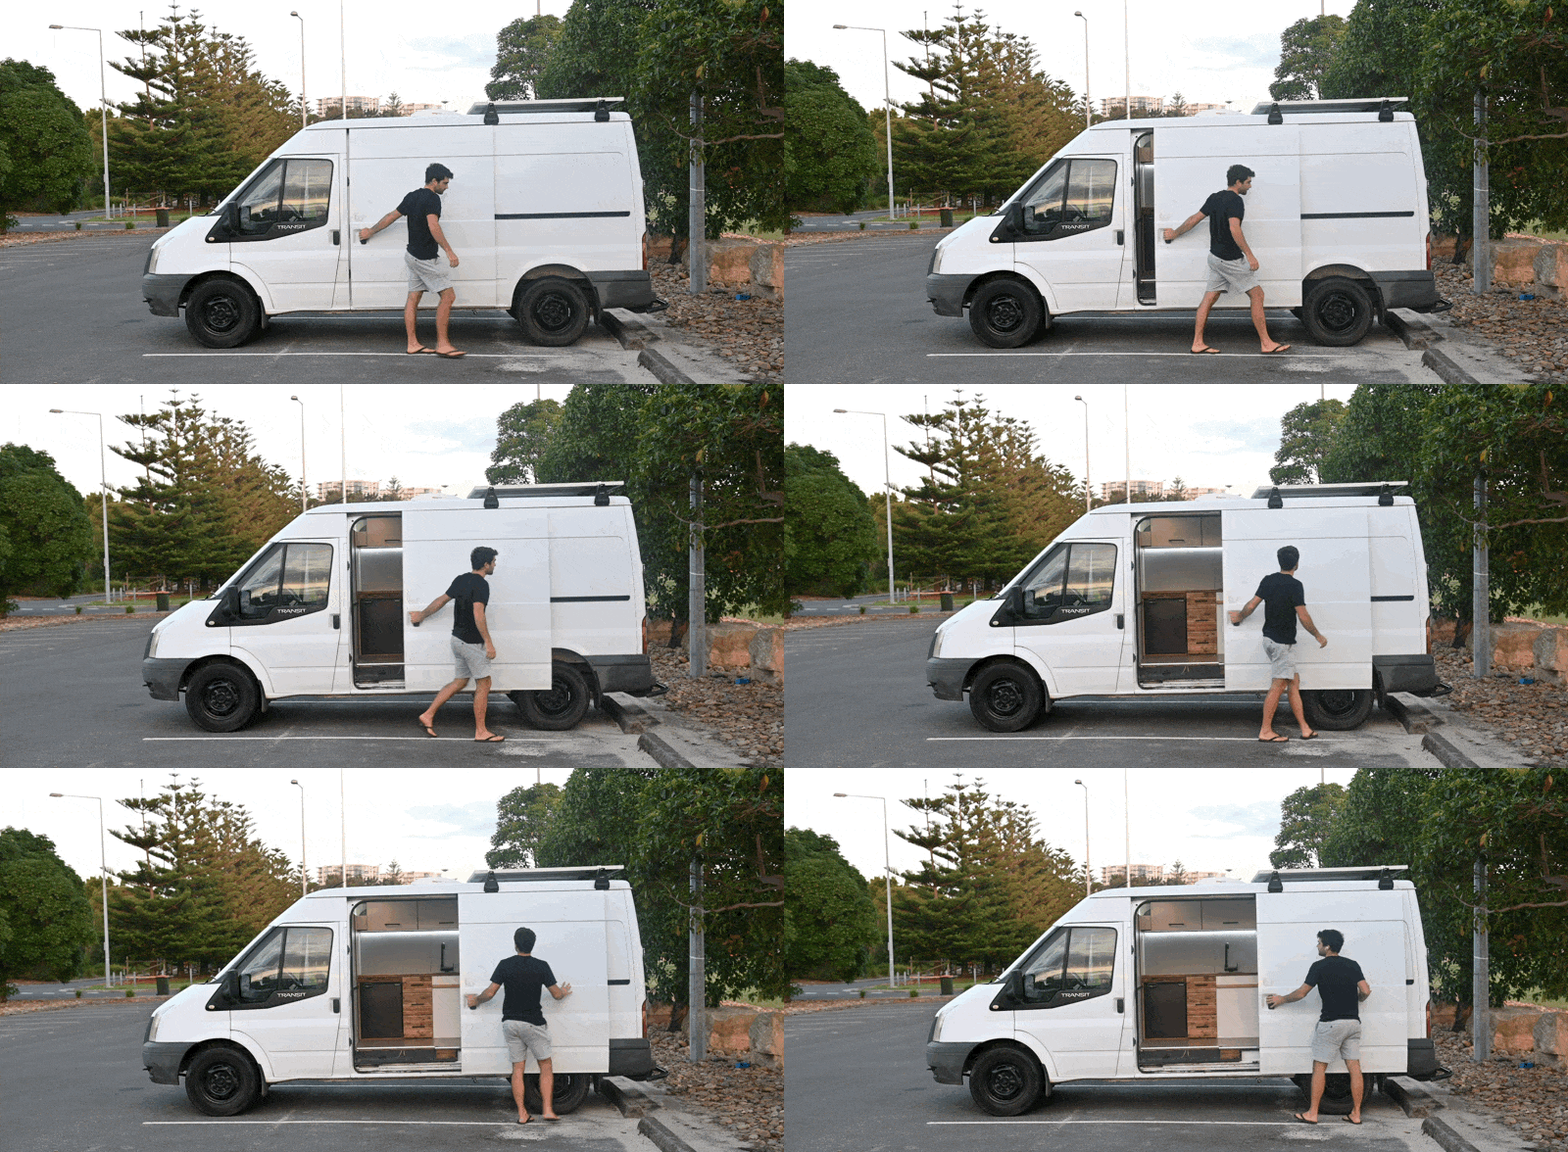
Instead, after extensive searching, we found this vehicle for AU$8,200 at an online auction just before Christmas 2020. While it wasn’t the exact model we initially sought, the price was unbeatable compared to the AU$15,000 cost from a dealer.
Since we planned on frequent stealth camping, our vehicle needed to fit standard parking spaces, have minimal windows, and be larger than a Hiace. Although a high roof was desirable, it wasn’t essential.
After inspecting it on-site, the vehicle ran smoothly, confirmed by a mechanic despite the lack of a service logbook. Buying this vehicle involved some calculated risk, but it has proven to be a wise decision.
Since then, we’ve kept up with regular servicing, addressing minor issues like a small fuel tank leak—a AU$500 fix that saved us over AU$6,000.
Our Conversion
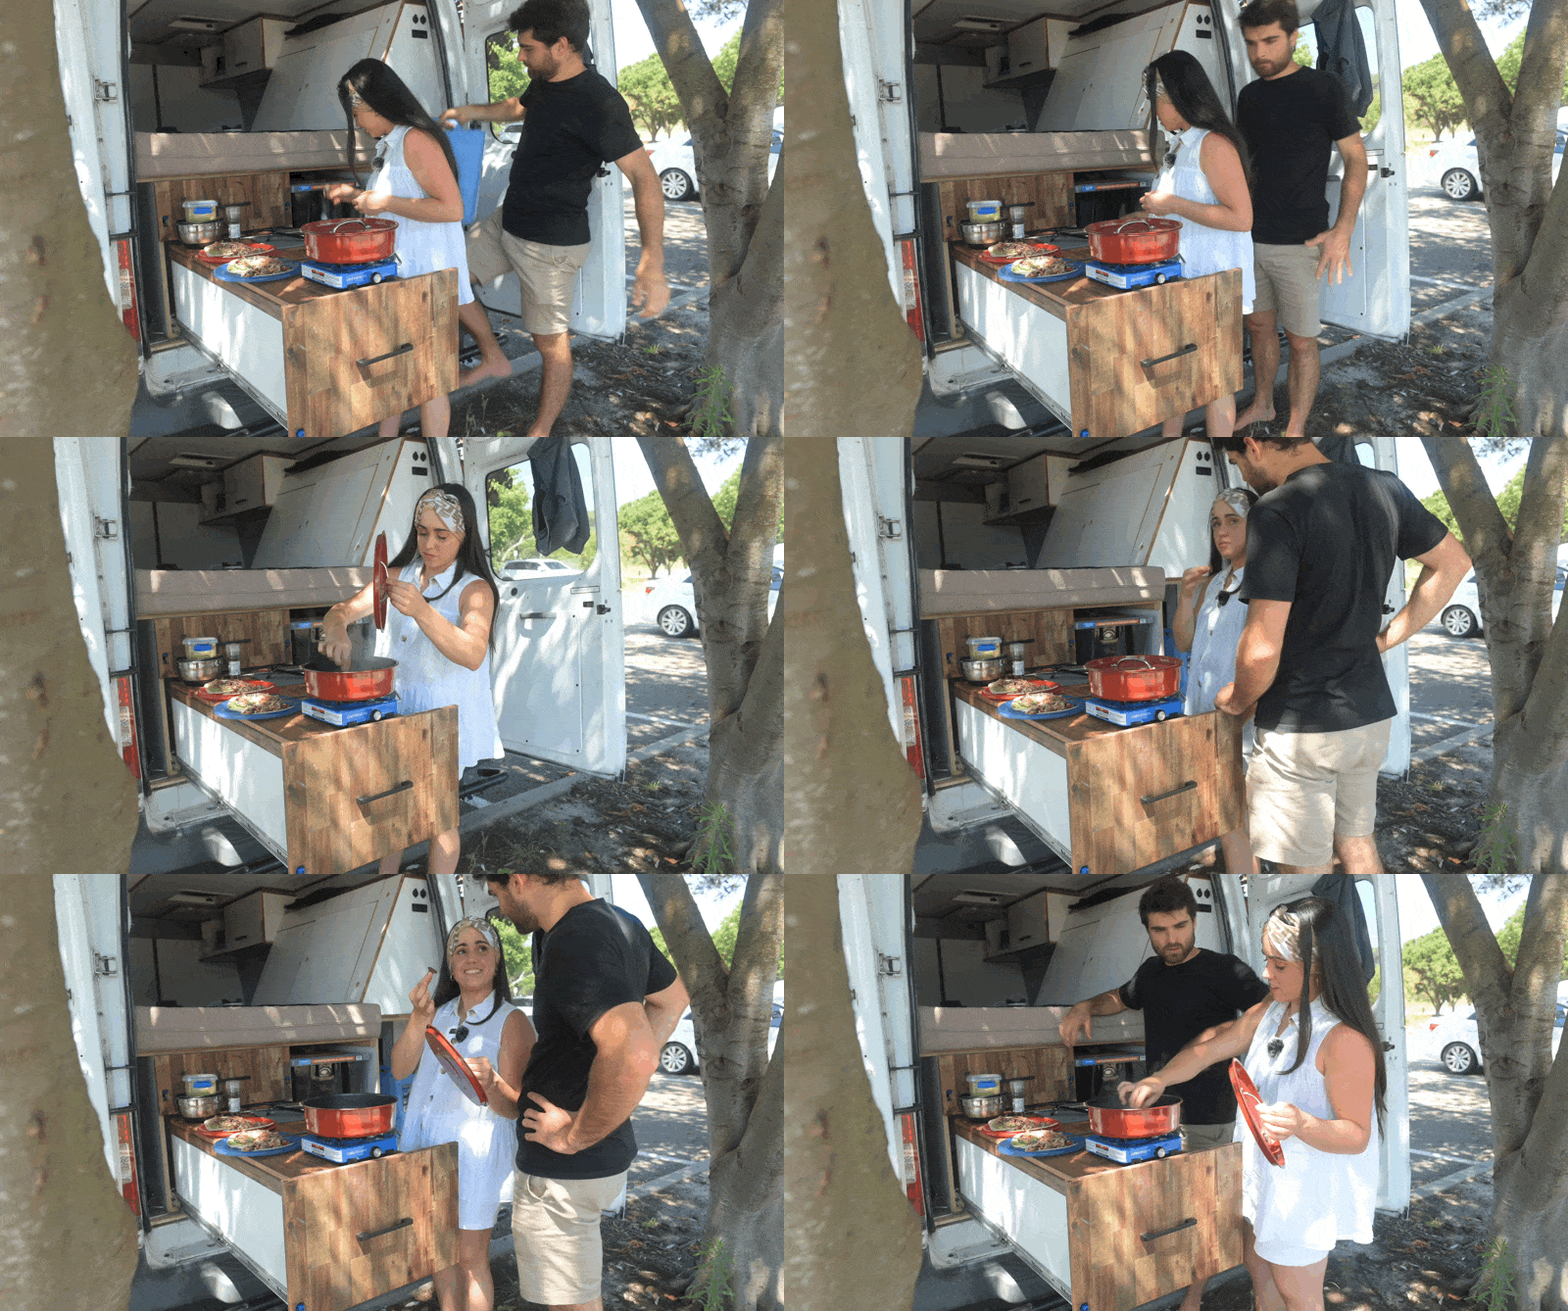
We aimed to create a van perfect for adventures that could also be a comfortable home. Here’s what we included to maintain the comforts of a basic home:
- Reliable Electrical System: Capable of running the fridge 24/7.
- Spacious Outdoor Kitchen: Plus a smaller indoor backup bench.
- Stealth Exterior: For discreet city camping.
- Running Water & Cold Shower
- Good Insulation & Airflow
- Sleeping for Two, Seating for Three
Cleaning and Rustproofing
If you’re using a second-hand van, it’s definitely going to be dirty and have some rust. I recommend stripping it back with sandpaper or chemicals, then priming and painting over it.
Steps:
- Clean
- Sand
- Clean again
- Prime
- Sand again
- Paint
Rust prevention is a bit of a dark art. It’s a tedious job, but if you’re about to put together a A$20,000+ build, you want it to last. Everyone has their own secret potion for rust prevention, and I don’t think mine is the best.
Do Your Own Research (DYOR). This is just a reminder to take rust seriously.
Now, let the fun stuff begin.
Insulation
Australian vans generally require less insulation than the winter-proof builds of North America and Europe.
Some people here opt to skip insulation altogether, but they often end up half-cooked in the summer heat.
I found a three-layer insulation system that works well for Australian conditions. It’s a common approach here, and we’ll definitely use it again on our next build.
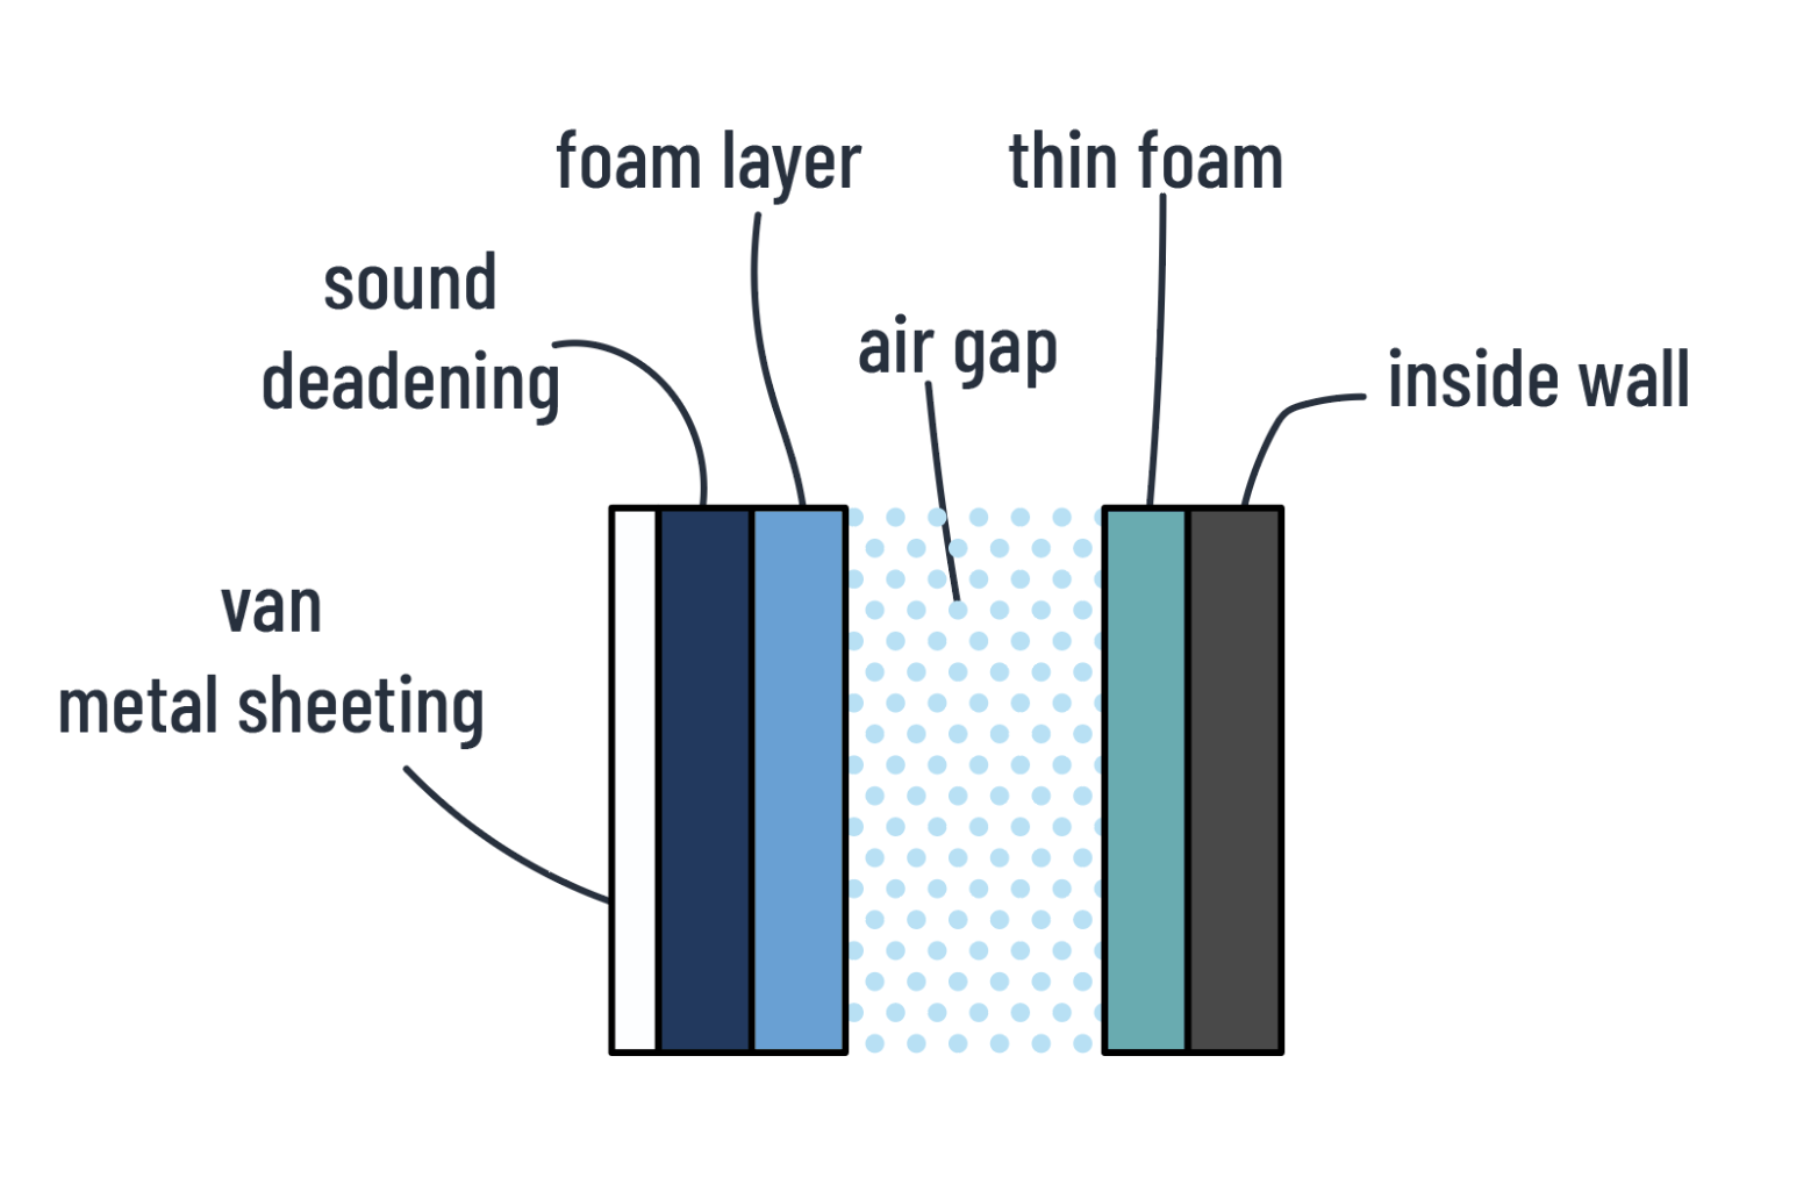
Layer 1 – Butyl Sheets
- Purpose: Minimize vibrations and road noise.
- Application: Stick aluminium-backed butyl sheets directly to the inner surface of your van’s metal sheeting. Focus on the floor and wheel wells for full coverage.
- Coverage Tip: Covering 20% of the van’s surface will give you 80% of the benefits without adding too much weight.
- Buying Tip: No need for brand names. Search for butyl sheets on eBay for cheaper options. Buying in bulk from Alibaba or Aliexpress can save even more if you can wait for slower shipping.
Layer 2 – Sticky Foam
- Purpose: Reflective barrier with foam to cover the entire inside of the van.
- Application: Ensure no bare metal is visible. This layer does most of the insulating work. Use insulation tape at junctions where sheets meet.
- Coverage Tip: Don’t cut corners here; full coverage is essential.
Layer 3 – Foam Liner
- Purpose: Create an air gap to keep inside temperatures consistent.
- Application: Add a third layer of foam on the inner surface of the ceiling and walls, depending on your van’s build.
Layer 4 – Window Covers
- Purpose: Reduce thermal exchange from the windows, provide privacy, and block out light.
- Application: Use magnetic window blinds with insulation sandwiched within.
- Buying Tip: If you can’t sew, small businesses offer custom-made blinds. They can be pricey due to the labor involved, but they are worth it.
This insulation system is a tried-and-true method for Australian conditions, ensuring your van stays comfortable in various temperatures.
Subfloor / Underlay
We initially used cheap varnished plywood for the subfloor of the van.
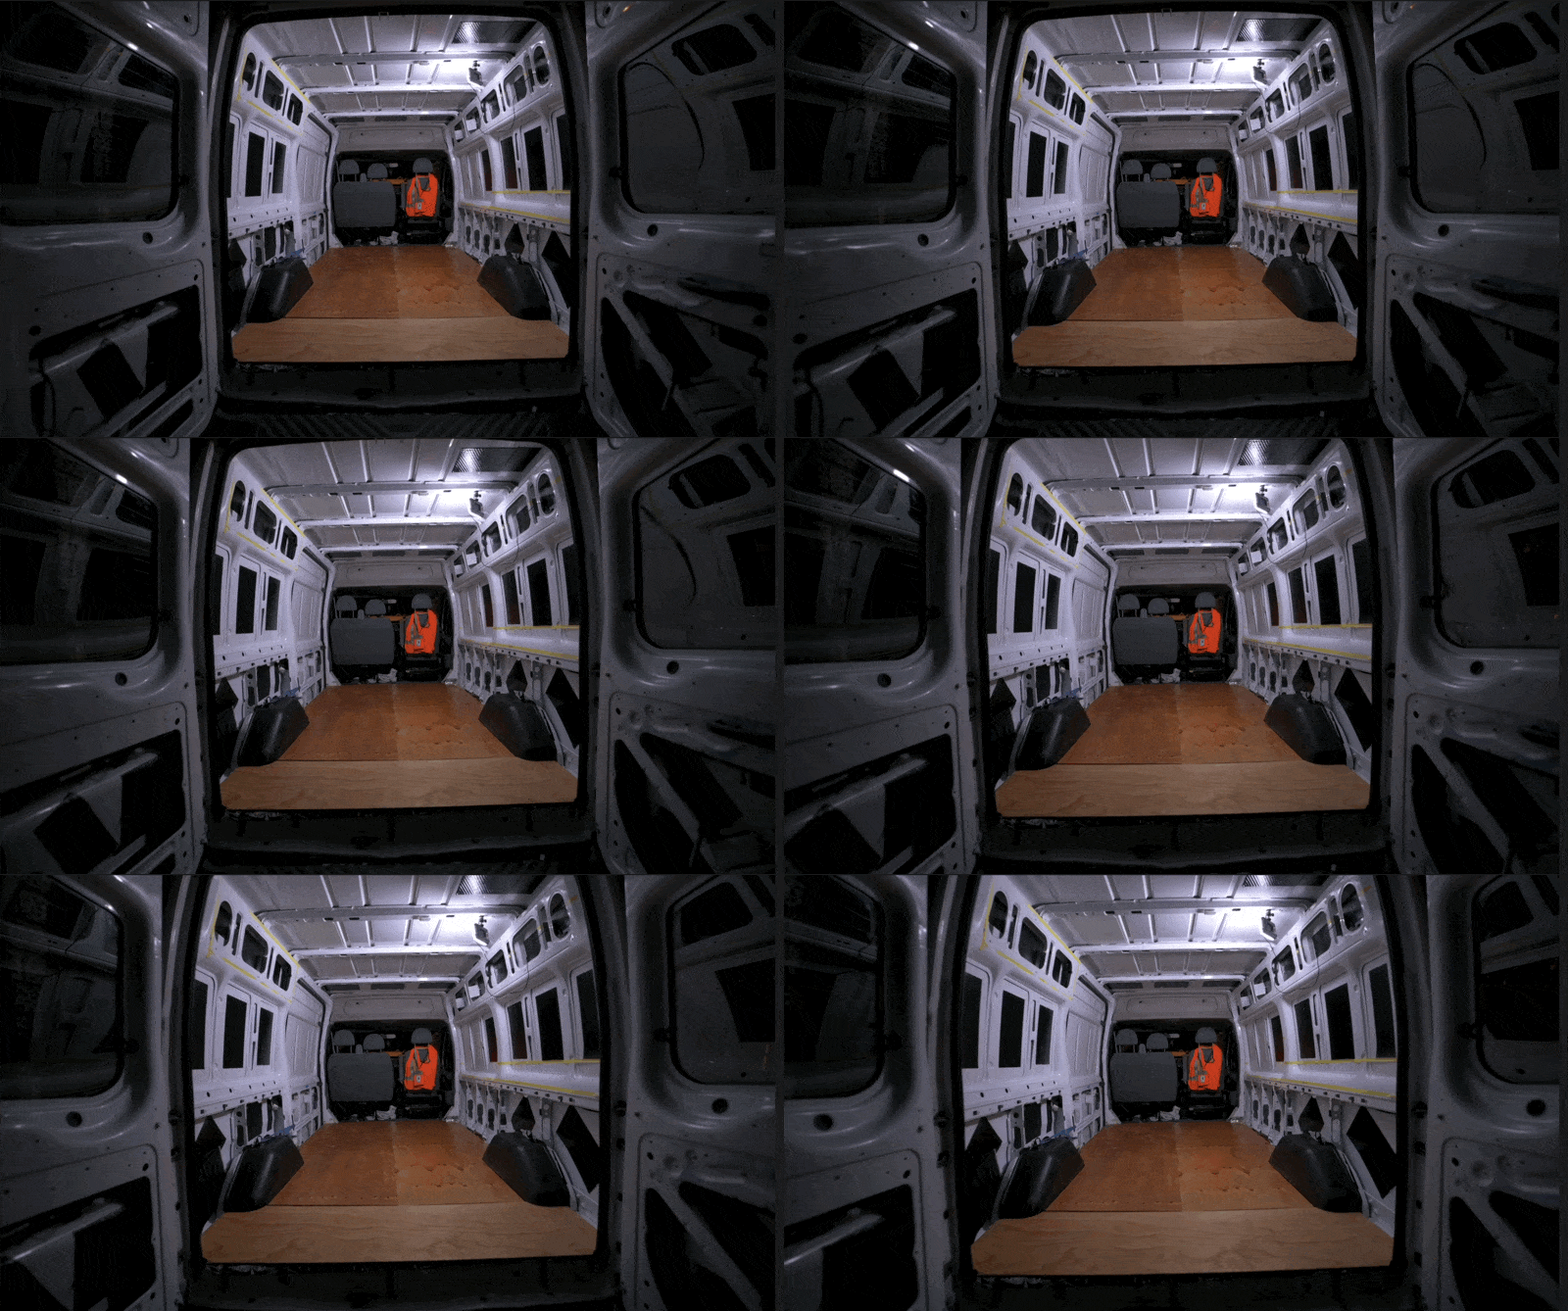
Mistake!
The folks at Vanable Fitouts strongly recommended using dense foam board instead. We ended up ripping out the plywood floor and installing XPS foam sheets (120060030mm).
- Benefits of XPS Foam:
- Much lighter and easier to work with than plywood.
- Waterproof, insulating, and ultra-resistant.
- Costs about AU$30 per sheet.
If you decide to use plywood, make sure to get marine grade ply to prevent rotting from condensation. Applying a varnish can provide extra protection.
Avoid:
- Chipboard or MDF: Both expand with the slightest moisture and won’t last more than a couple of years. I’ve seen beautiful builds destroyed within six months because of this.
Choosing the right materials for your subfloor is crucial for a durable and long-lasting van build.
Flooring
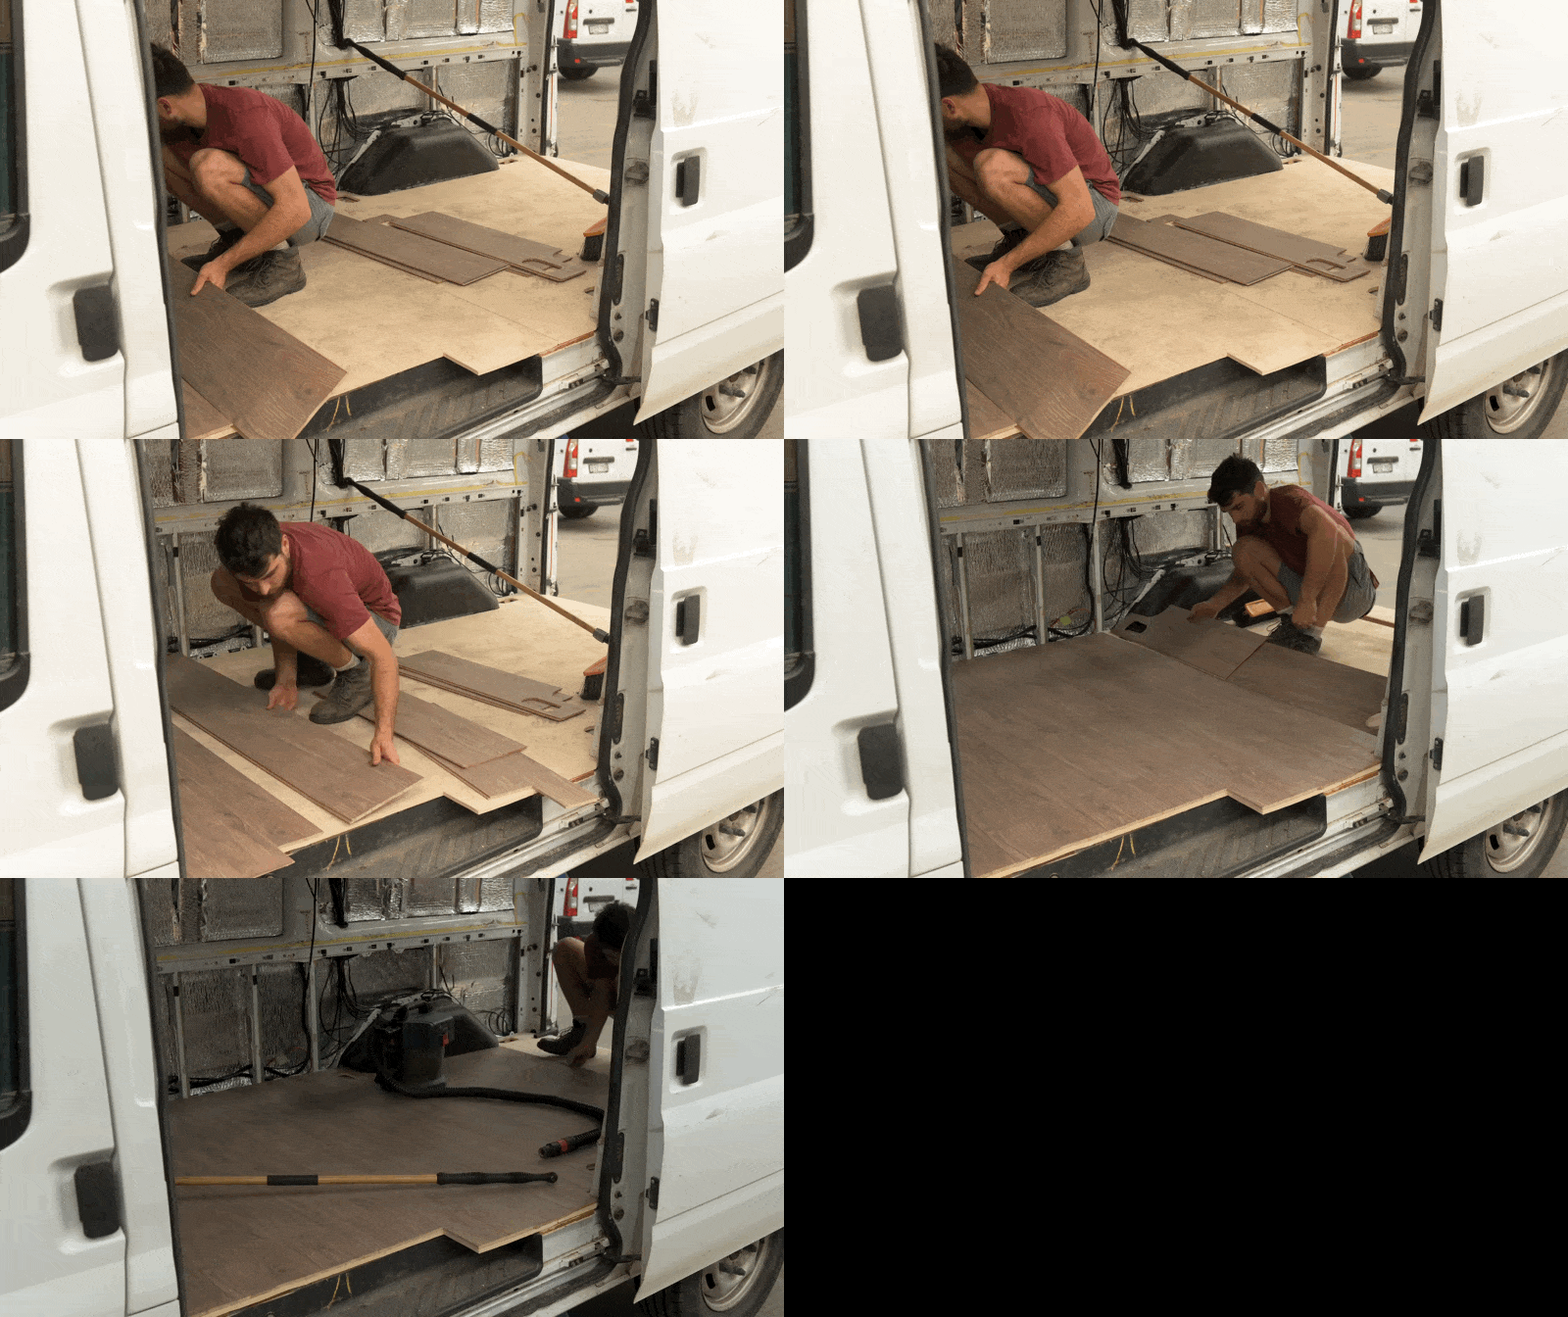
Our van had the flooring of a Potts Point villa: hardwood laminate flooring from Bunnings.
Mistake!
It was expensive and far too heavy. I do not recommend copying us.
Most folks choose “clip-on” vinyl flooring. It’s sold under various brand names, and this is what I’ll be using on future builds.
Our modified suggestion ends up being:
- Light
- Pretty
- Cheap
- Resistant
- Insulating
- Waterproof
- Easy to replace damaged sections
A textured rubber mat is also a good option for high-use areas like the garages or steps. It’s easy to install and cost-effective.
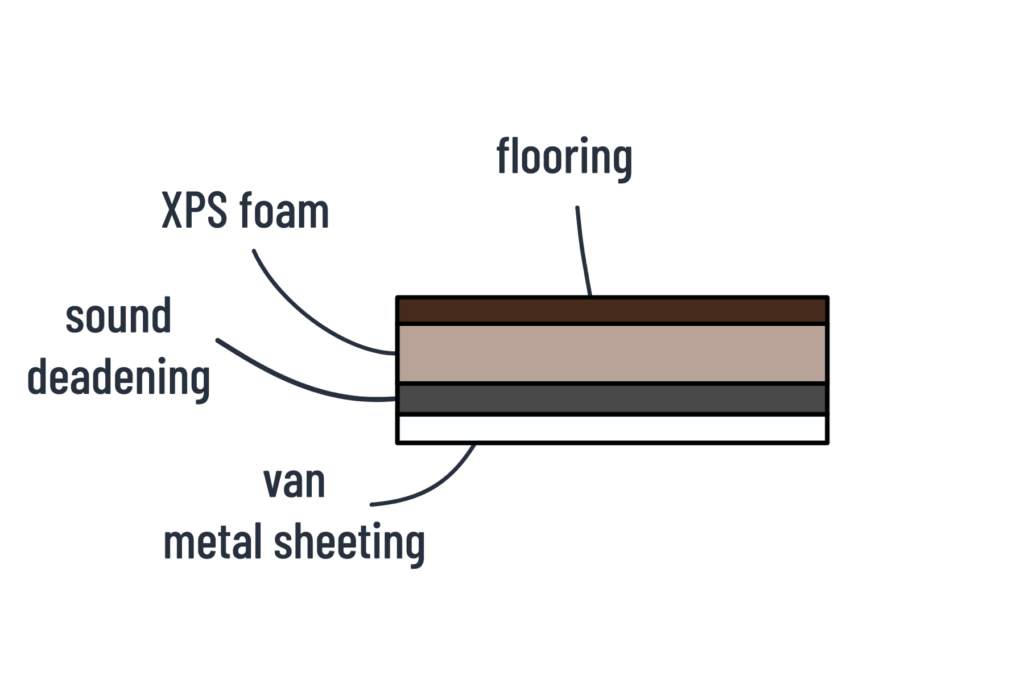
The diagram below shows the floor layers we ended up with.
The Layout
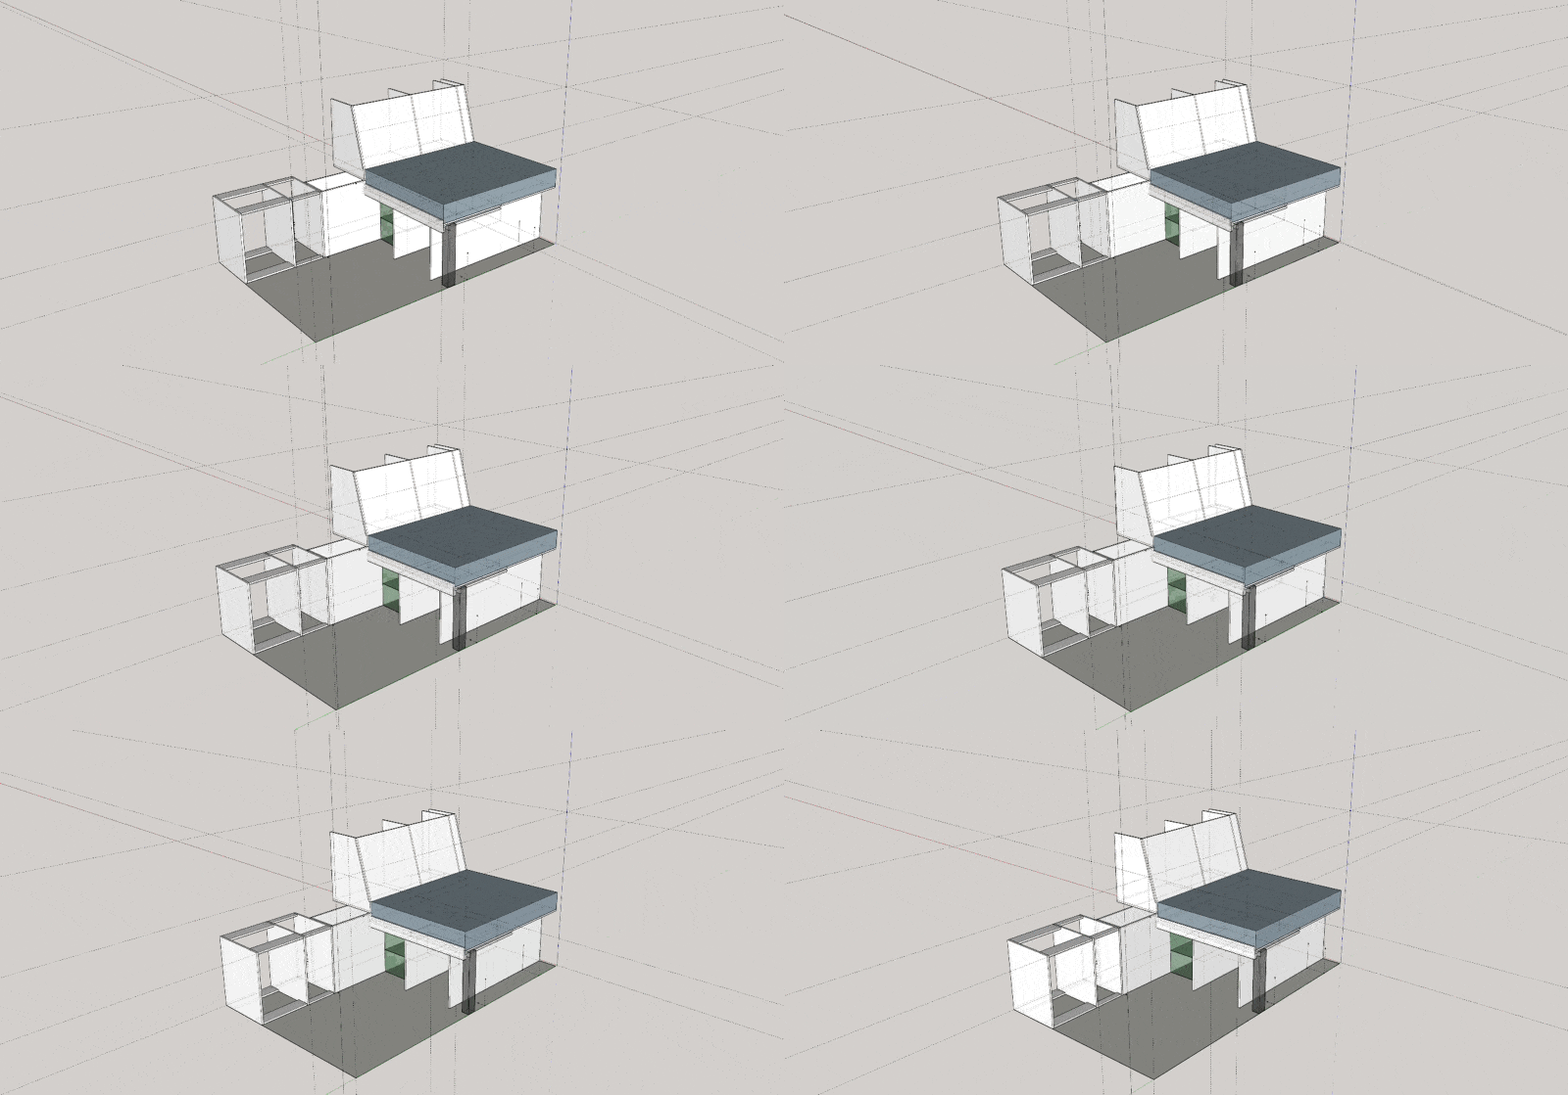
Our van is small, but that is a feature, not a bug.
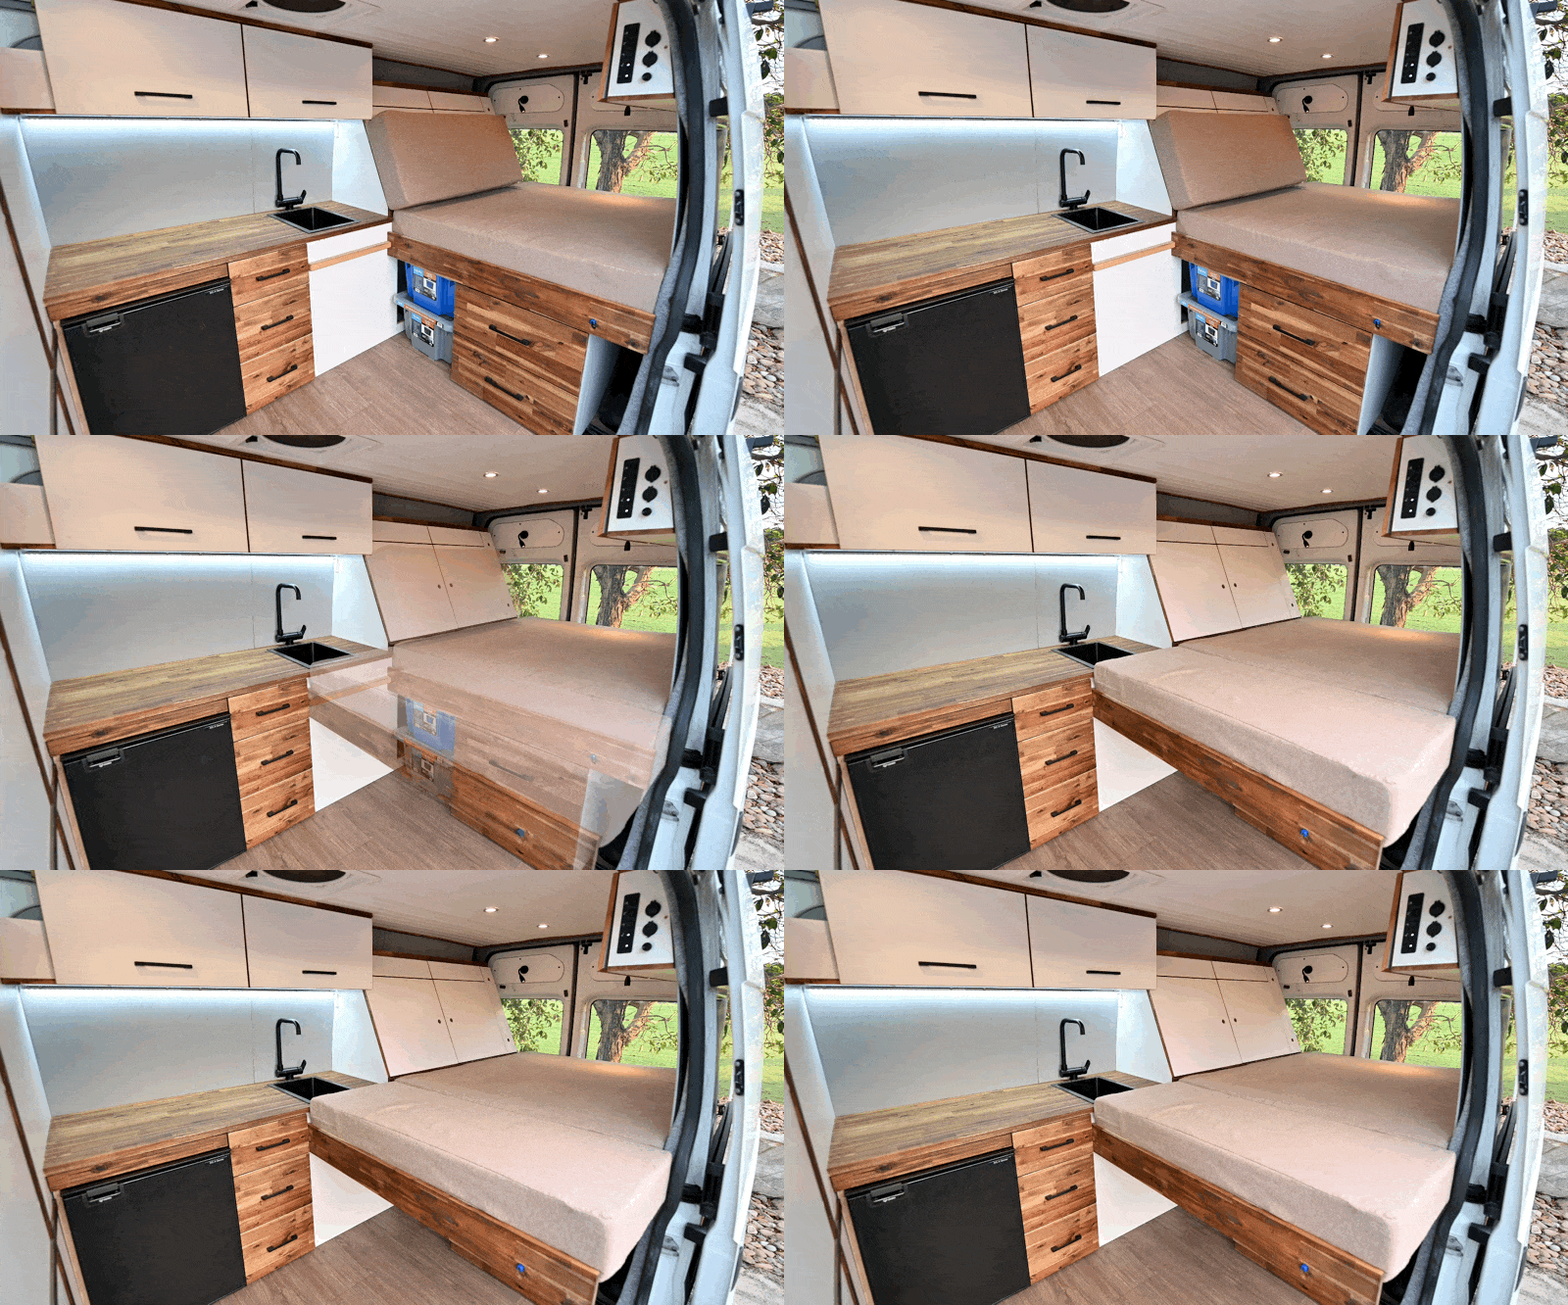
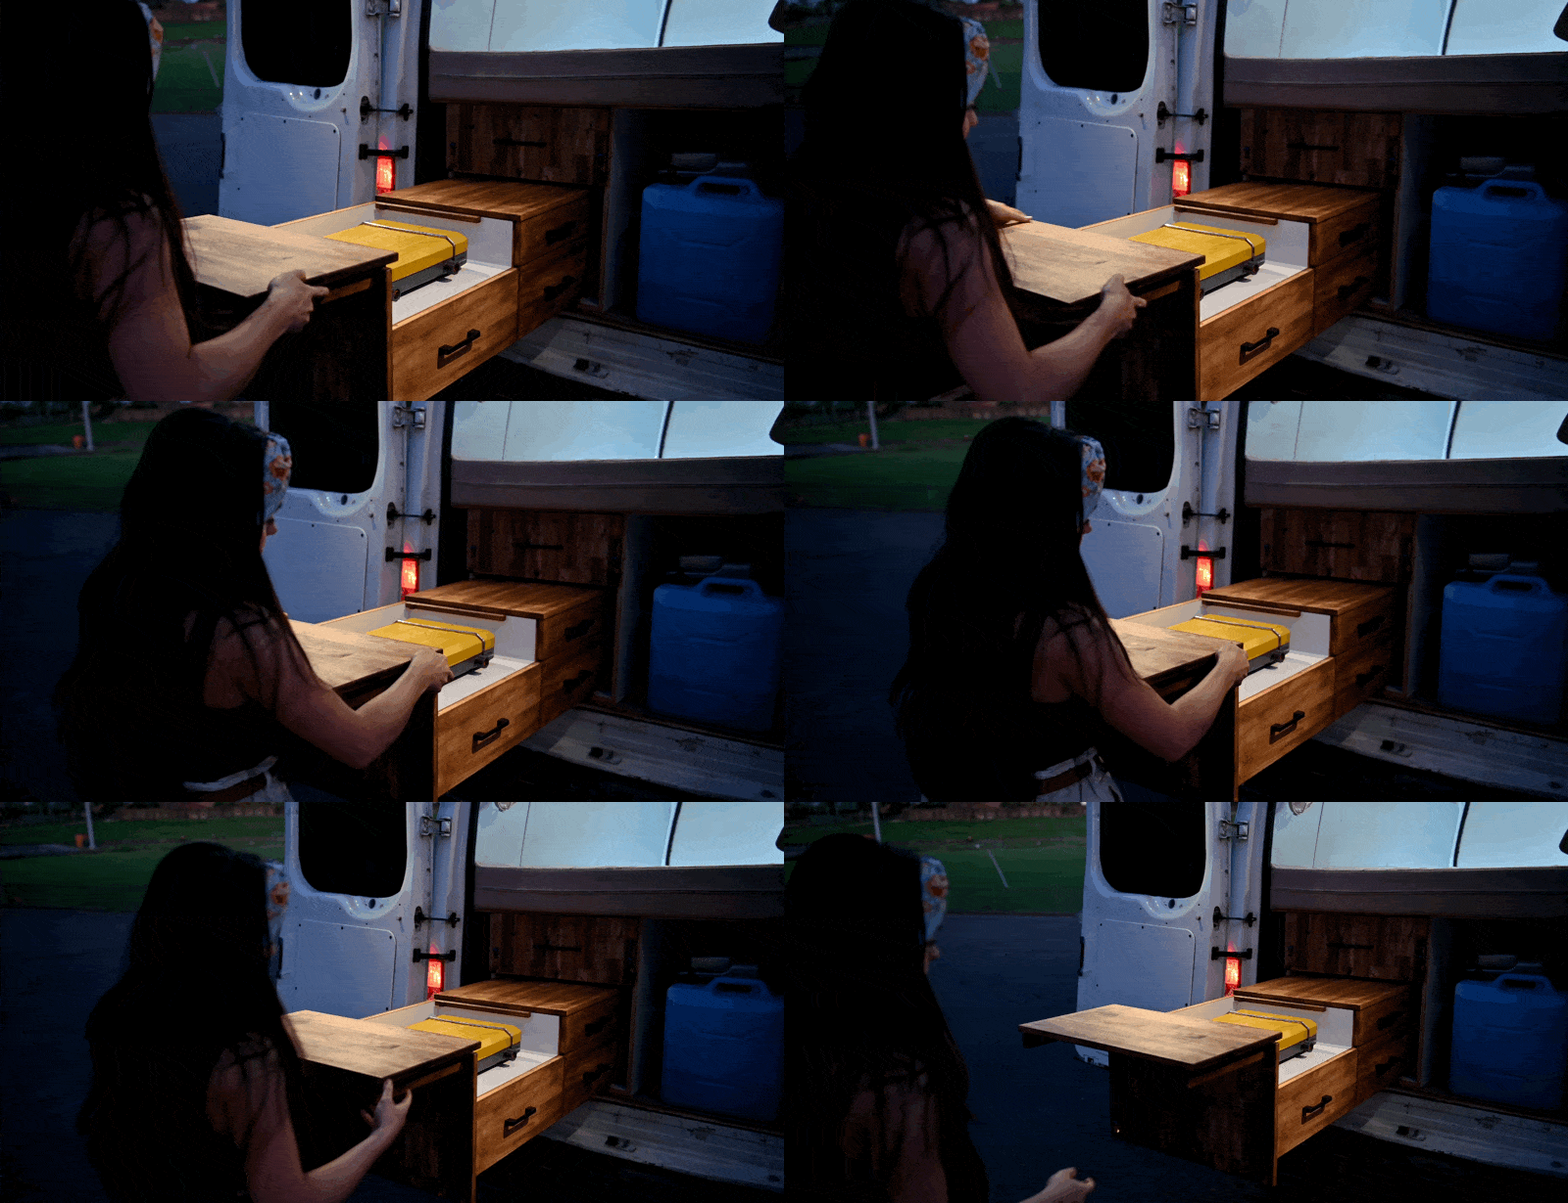
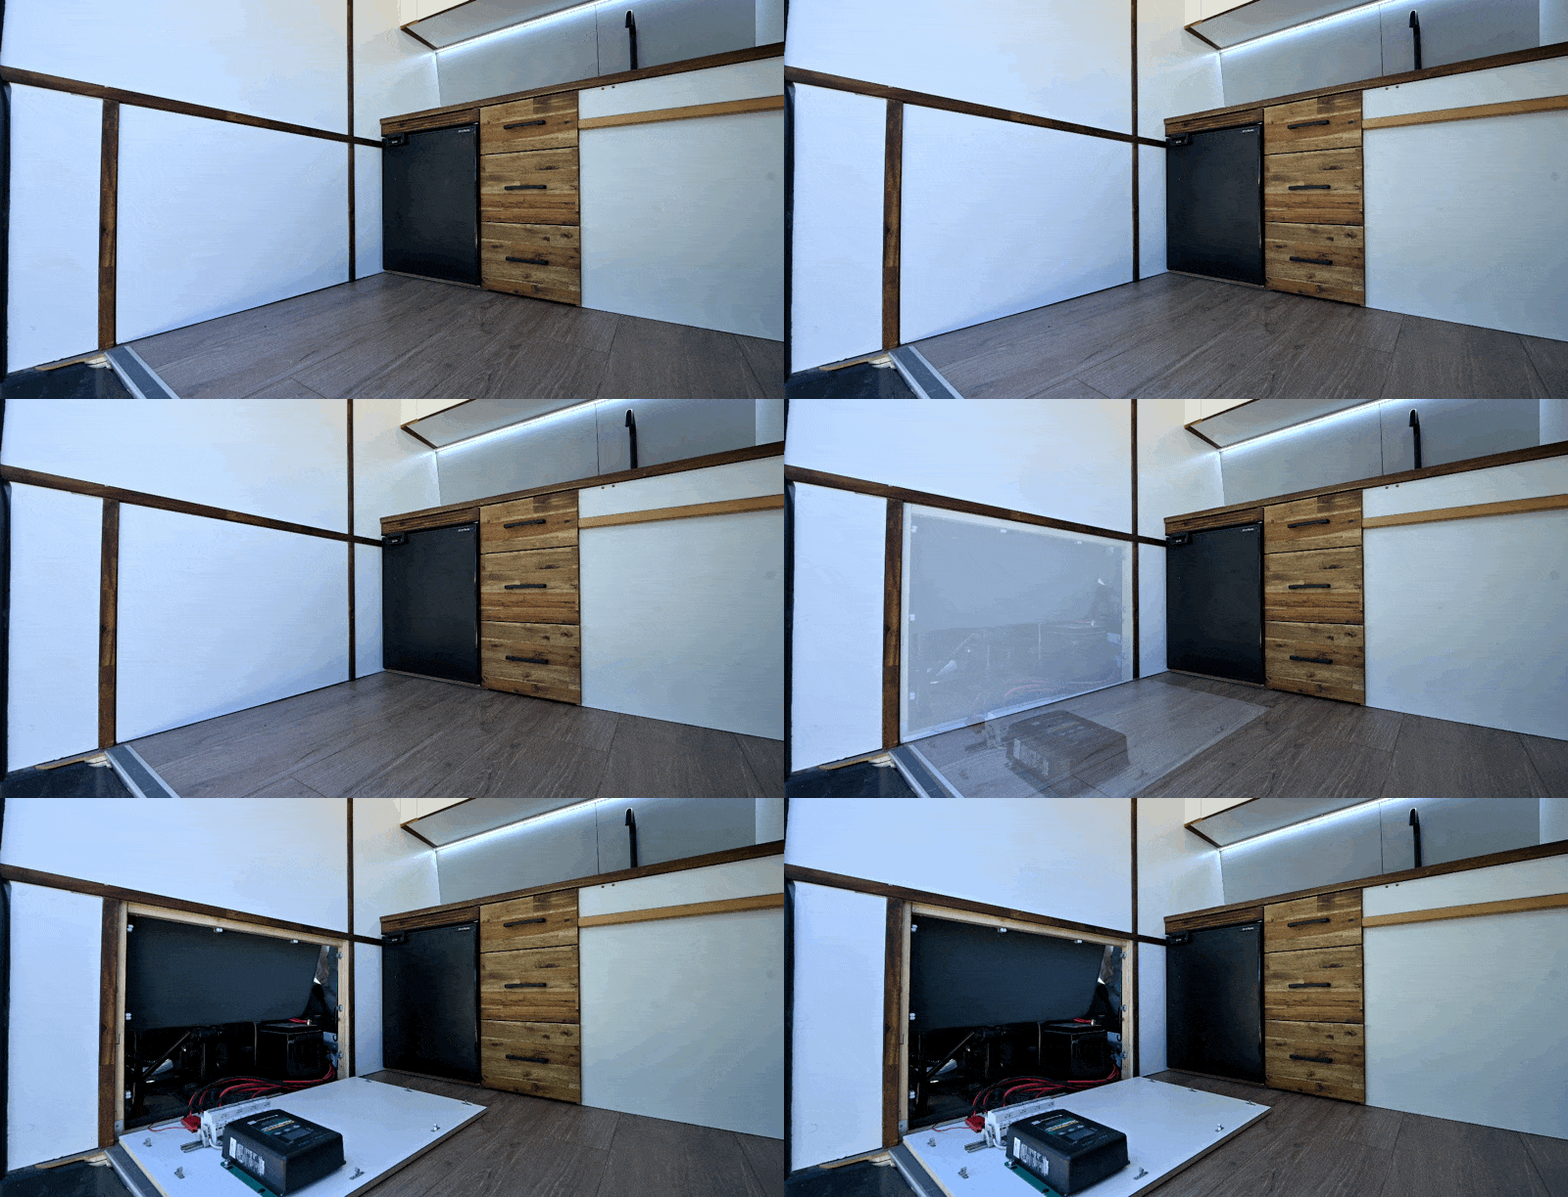
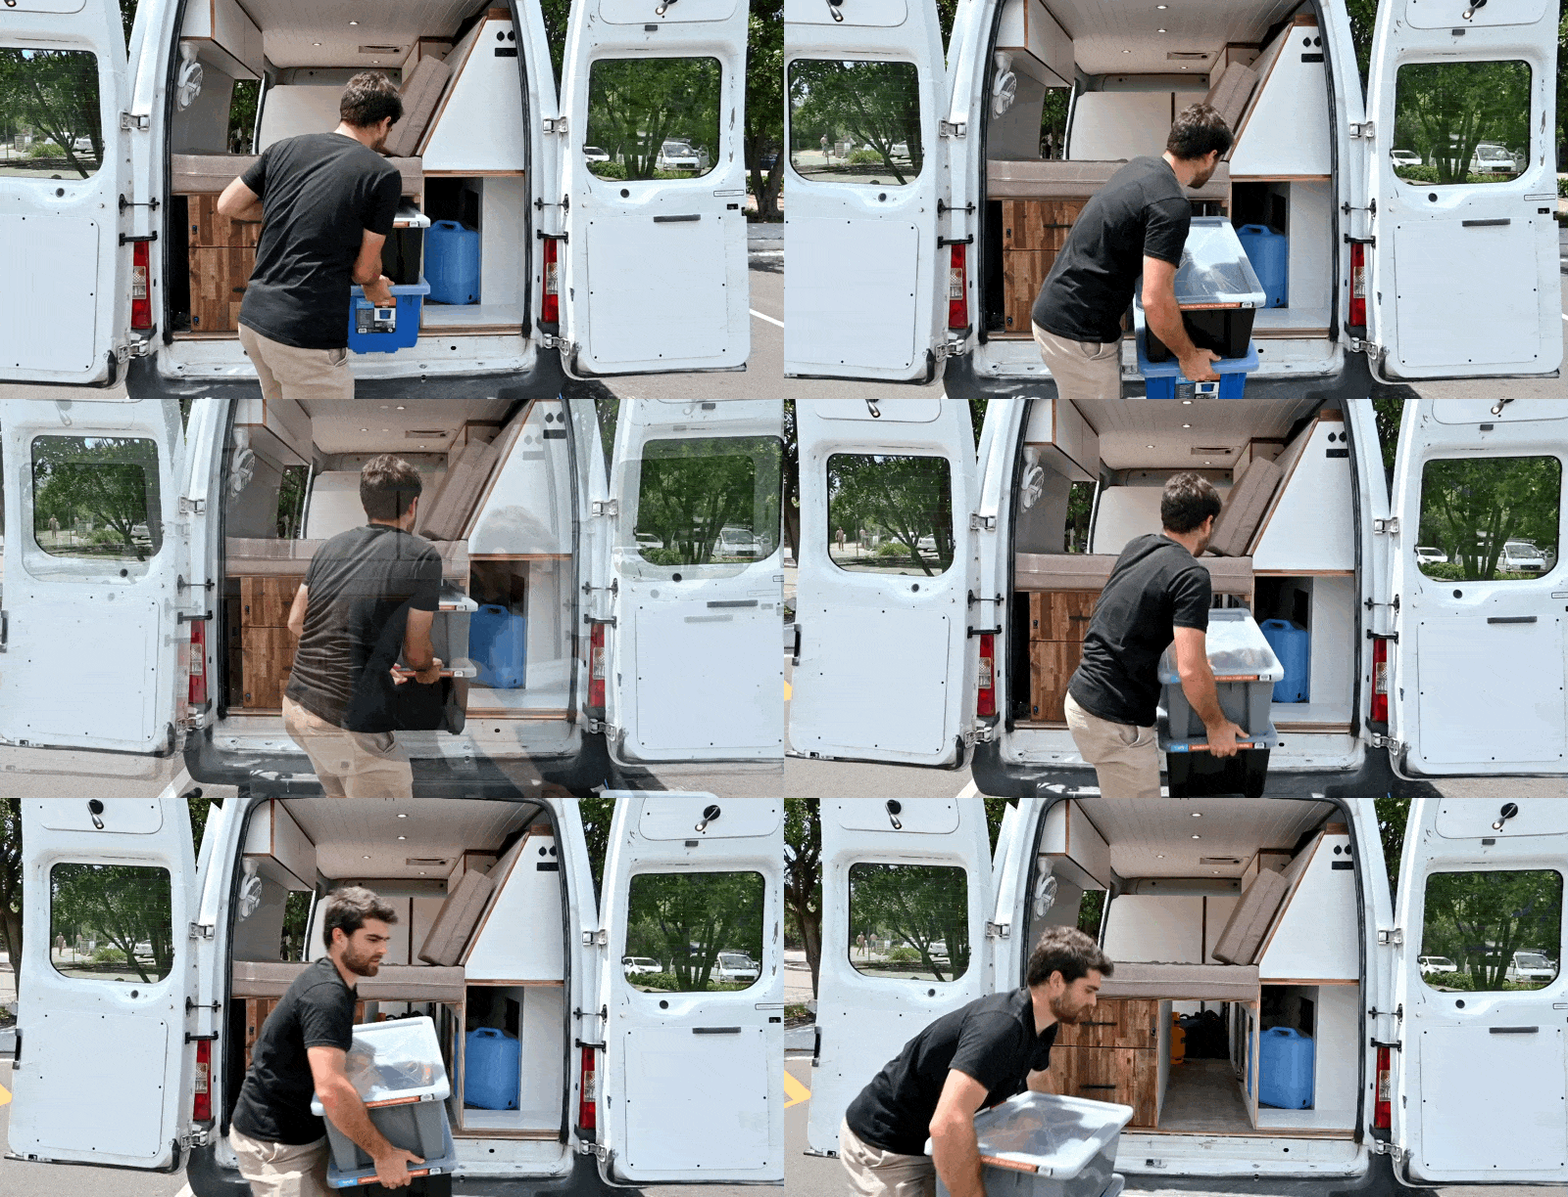
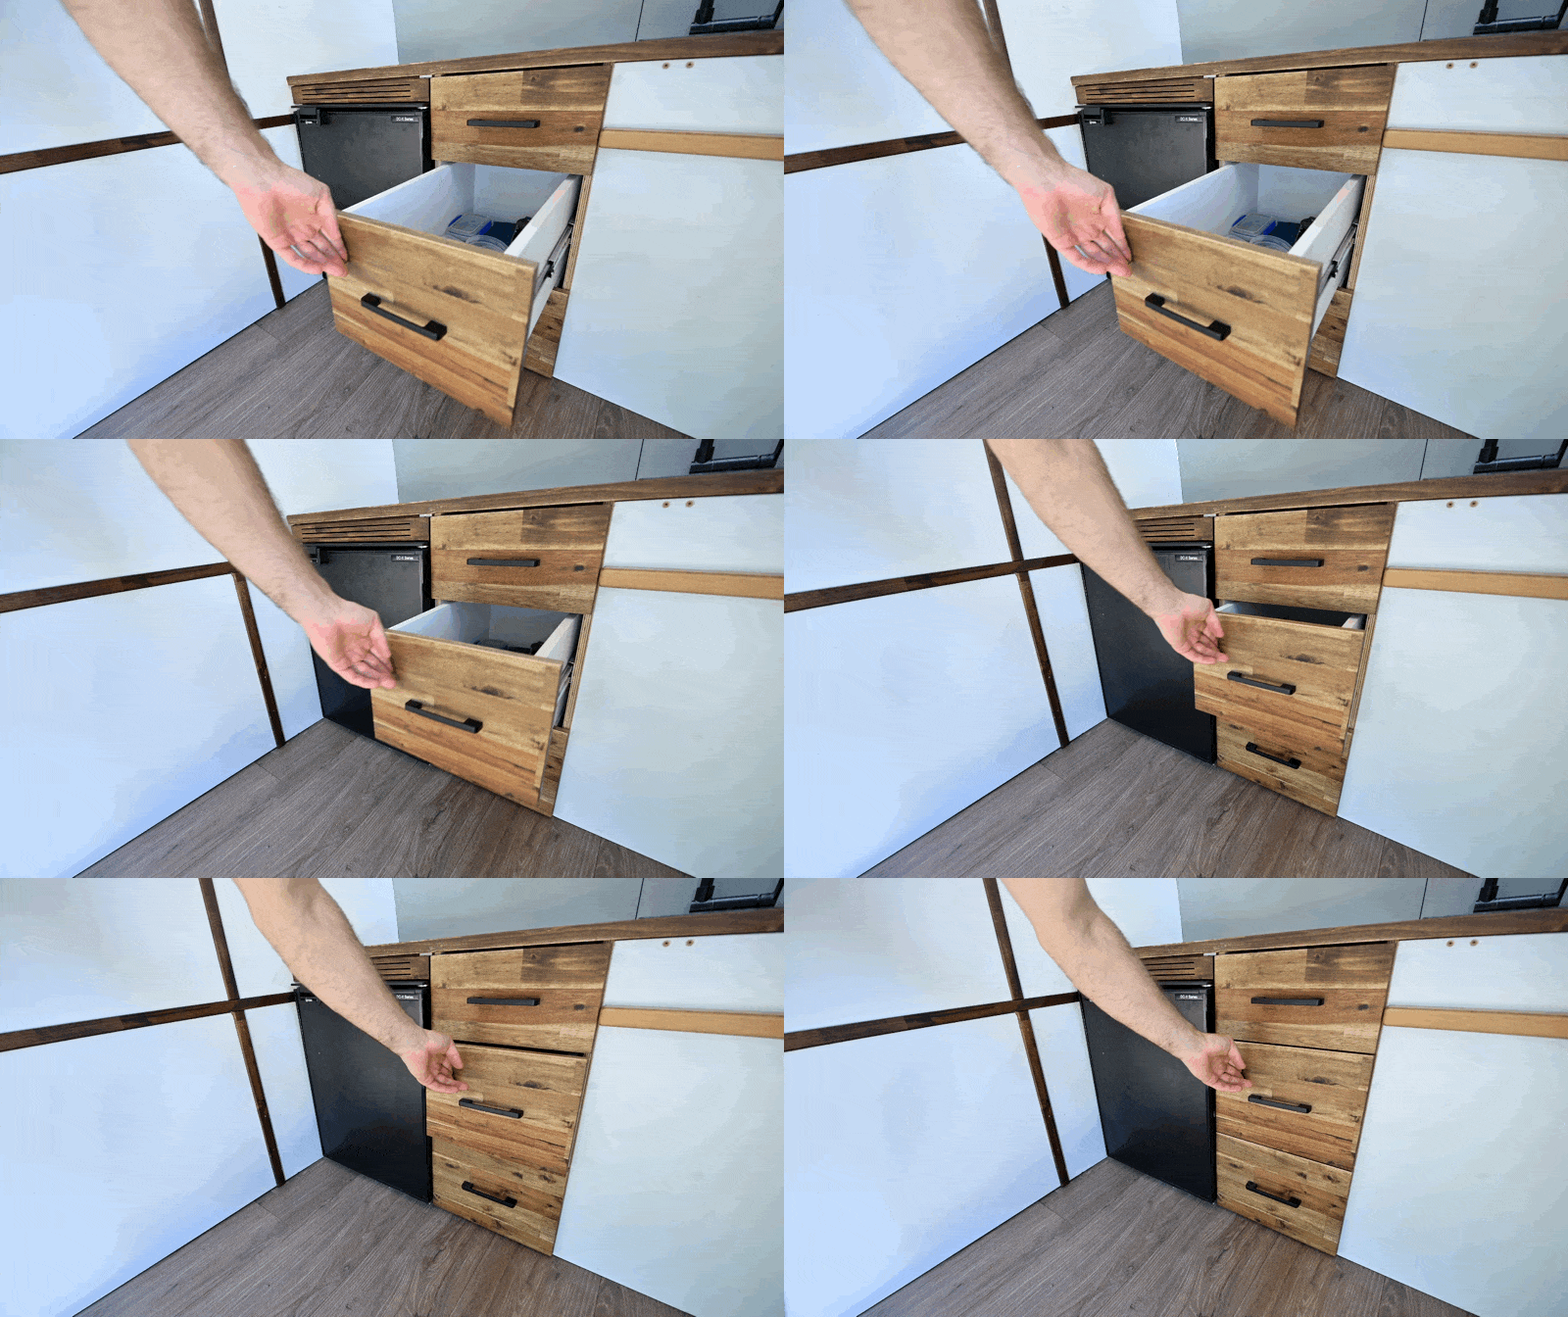
We spent hours in CAD software (SketchUp) to make it practical. These are the features we managed to squeeze into the layout:

Build Materials
This blog is a work in progress, and I’m working on a more comprehensive list of everything we used in the build.
For now, this link is a good starting point.
We built all of our furniture with melamine-backed plywood, and we highly recommend it.
- Ease of Use: Thick enough for butt joints without screws pulling through, and pocket hole joints are much easier compared to thinner, lower quality plywood.
- Aesthetic: Comes in different colors and looks polished without the need for varnish or paint, which saves a lot of time.
- Weight Consideration: A bit heavy, so you’ll need to cut “swiss cheese” holes in large pieces to reduce weight.
Vansmart sells 1624001200 sheets of it, but there are other suppliers as well. It can be tricky to find on short notice and isn’t often stocked in common hardware stores.
Electrical
The brains of the operation were professionally installed and checked by an electrician, but all the wires for the loads were installed by Loic. Here’s what we settled on:
- 200aH Enerdrive LiFePO4 Battery
- 2x Solar Panels
- Enerdrive DC2DC Battery Management Unit: Handles both solar and alternator battery charging.
- 85L Buschman Fridge
- Fuse Box and Spare Cables: Allows for adding other 12v electrical loads.
- Dedicated Spot for Inverter: Space reserved to install an inverter if needed.
- Auto Running Water Pump: Includes a switch to turn off and on.
- MaxxFan (Roof Fan) with Remote
- Sirocco Fan II (Inside Fan)
- Heaps of Lights
- Reversing Camera
